How to Edit Images with AI: A Practical Workflow From Selection to Final Export
Use a repeatable AI editing workflow: start with a usable source image, choose the right editing method, review the result, and export only the versions worth keeping.
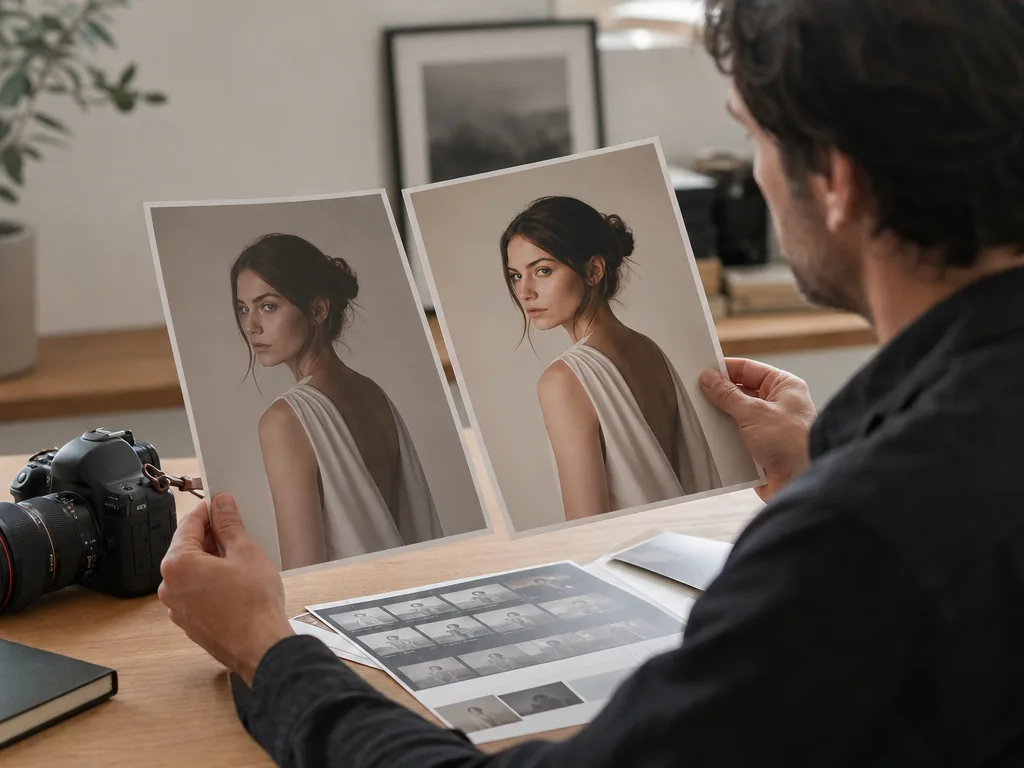
Edit images with AI by starting from a confirmed keeper, naming one job, protecting the parts that must stay, and reviewing the result at its final destination before export.
Step-by-step process
- 1
Choose the image worth editing
Select the strongest frame before spending credits or review time. Compare similar shots for expression, focus, composition, and story so the edit begins with the right source.
- 2
Classify the editing job
Decide whether the image needs enhancement, cleanup, background work, restoration, prompt editing, or a creative transformation. Each job needs a different instruction and review standard.
- 3
Define what must remain unchanged
Protect identity, product geometry, pose, readable text, lighting direction, or documentary meaning. A useful AI edit has explicit boundaries, not only a desired style.
- 4
Compare source and result
Review faces, hands, fine edges, lettering, color, and the original story at full size. Revise one instruction at a time when the result drifts.
- 5
Export for a named purpose
Save the source, working result, and final crop separately. Match dimensions and format to the post, print, listing, gallery, or archive that will use the image.
Common mistakes to avoid
Editing every frame before selecting
Processing near-duplicates increases cost and makes the final choice harder. Choose the keeper first.
Asking for unrelated changes together
Enhancement, background replacement, retouching, and text changes should be separated so failures remain diagnosable.
Approving a polished thumbnail
Small previews hide altered identity, broken text, and edge artifacts. Review at the final-use size.
Before you finish
- A confirmed keeper is used as the source.
- The edit belongs to one clear task category.
- Protected details are explicitly named.
- Source and result were compared at full size.
- Versions and final export remain traceable.