AI Background Changer for Photos You Actually Want to Use
Change or clean up a photo background after selecting the strongest image, then use the result for profiles, products, posts, thumbnails, or campaigns.
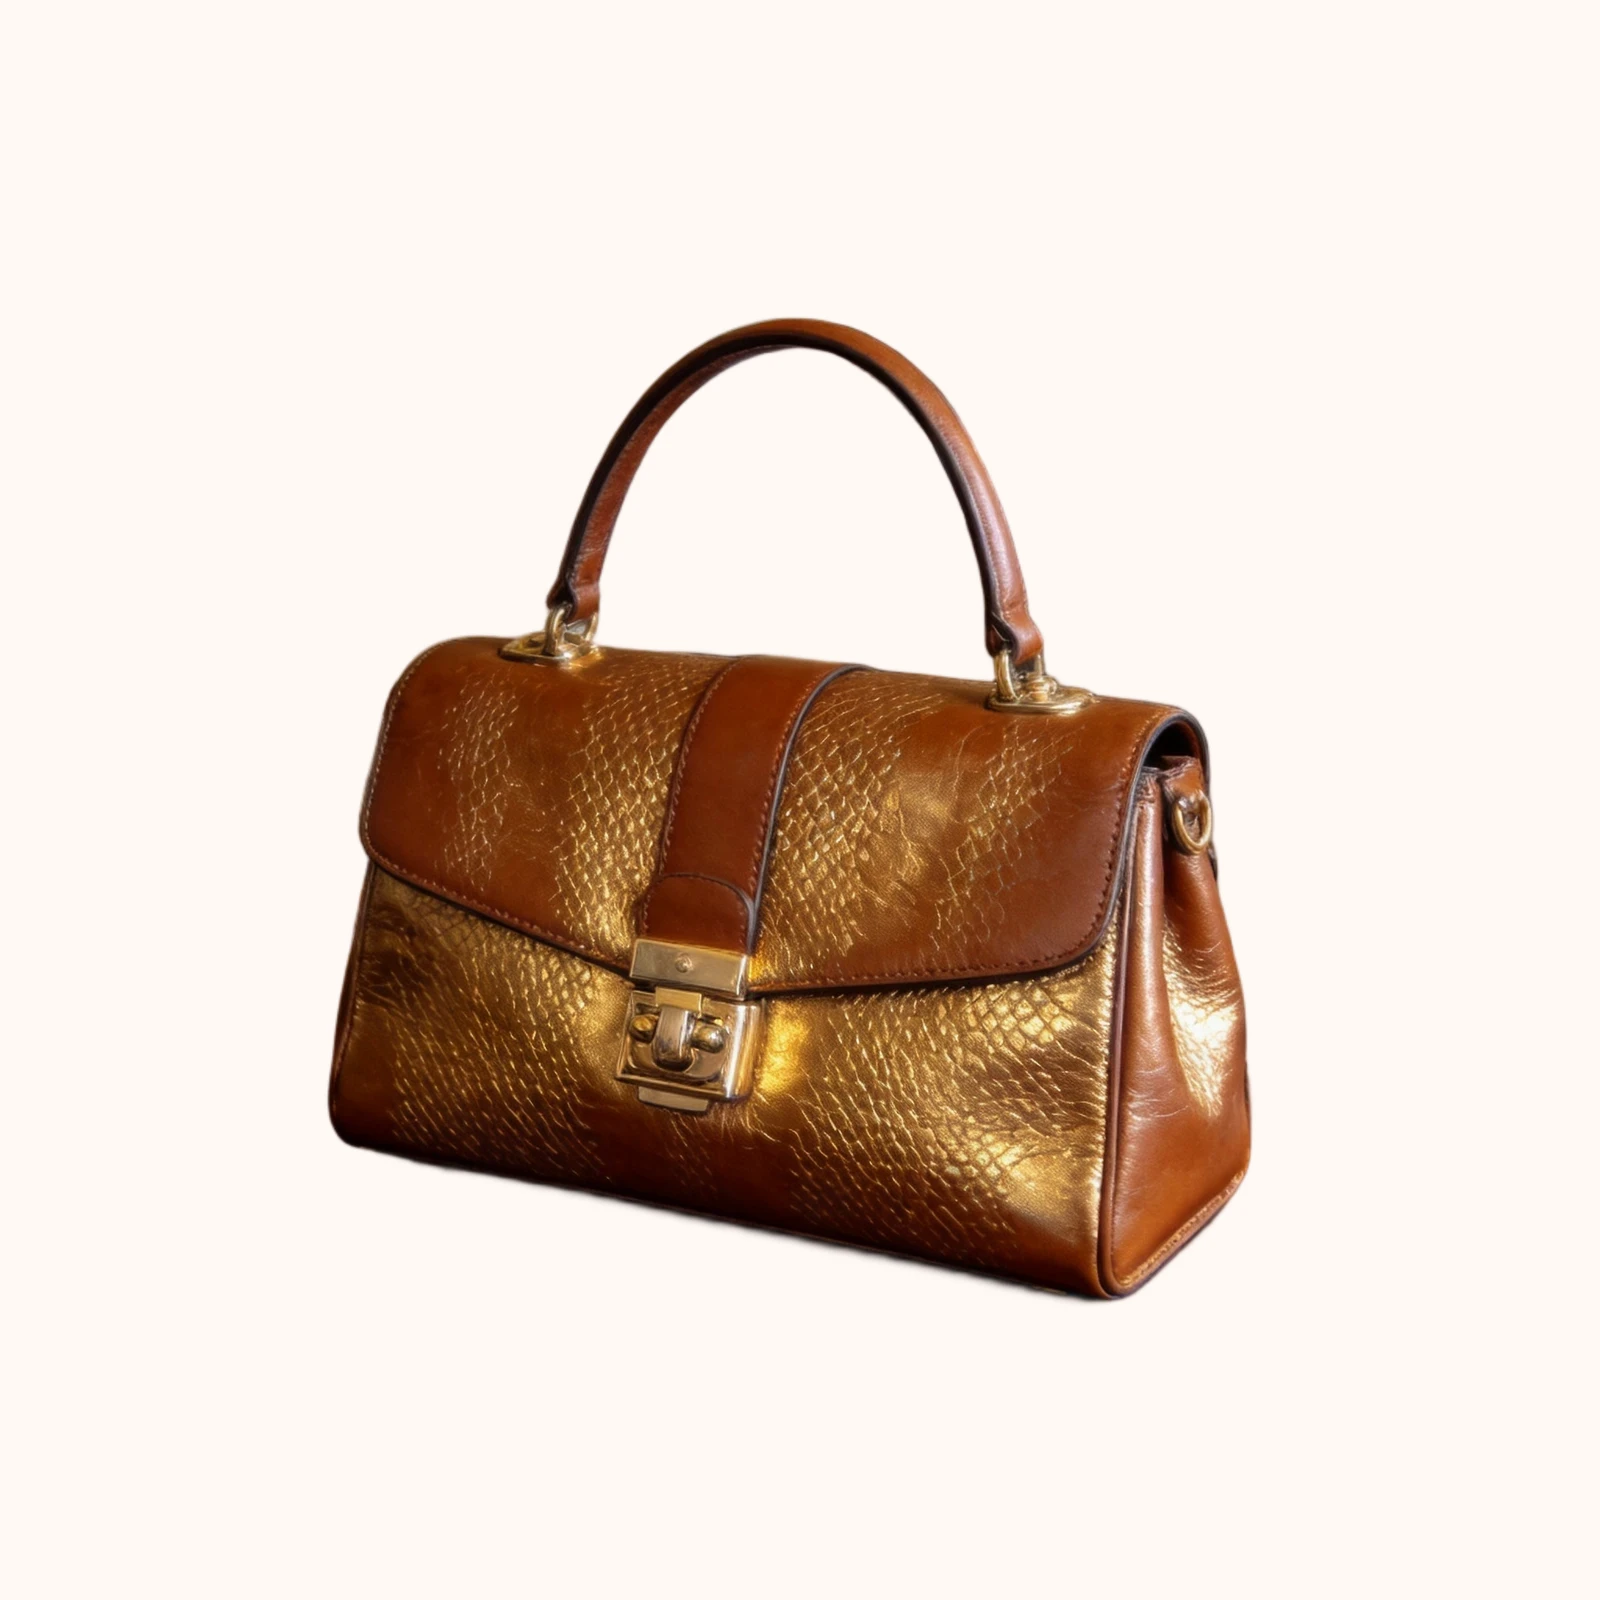
A good AI background change starts with a clear subject and a believable reason for the new setting. Choose the frame first, describe the intended environment, then inspect edges, contact shadows, and lighting before exporting.
Step-by-step process
- 1
Pick a frame with a readable subject
Use a photo where hair, hands, clothing, or product edges are visible enough to separate from the original background. A stronger source makes the mask easier to judge.
- 2
Decide how you will use the image
Decide whether the result is for a product listing, portrait, profile image, social post, or creative concept. The purpose determines how much realism and negative space you need.
- 3
Describe light and camera position
Mention direction of light, approximate lens height, surface, and distance. A simple instruction such as “soft window light from the left, eye-level portrait” gives the edit a coherent target.
- 4
Check the cutout edges
Zoom into hair, fingers, transparent objects, and thin straps. If the edge is wrong, revise the instruction or choose another source instead of hiding the problem with more effects.
- 5
Export for the actual destination
Check crop, subject scale, contrast, and empty space against the place where the image will be used. A technically clean edit can still fail if the subject is too small for a profile or listing card.
Common mistakes to avoid
Starting with a difficult source
Motion blur, overlapping people, and low contrast make background boundaries unreliable. Choose a clearer frame when the edit is important.
Describing only a noun
“Beach” or “office” does not explain light, perspective, or surface. Add the visual conditions that make the scene believable.
Ignoring the contact area
A floating subject often comes from missing floor shadow or inconsistent scale. Inspect feet, product bases, and nearby reflections.
Before you finish
- The source subject is clear enough to isolate.
- The background has a defined use and aspect ratio.
- Light direction and perspective are compatible.
- Hair, hands, and thin edges were checked at 100%.
- The exported crop works where it will be published.