AI Photo Batch Editor for Large Photo Folders
Use one workflow to cull large photo batches, group similar shots, enhance selected keepers, and create AI variations without jumping between tools.
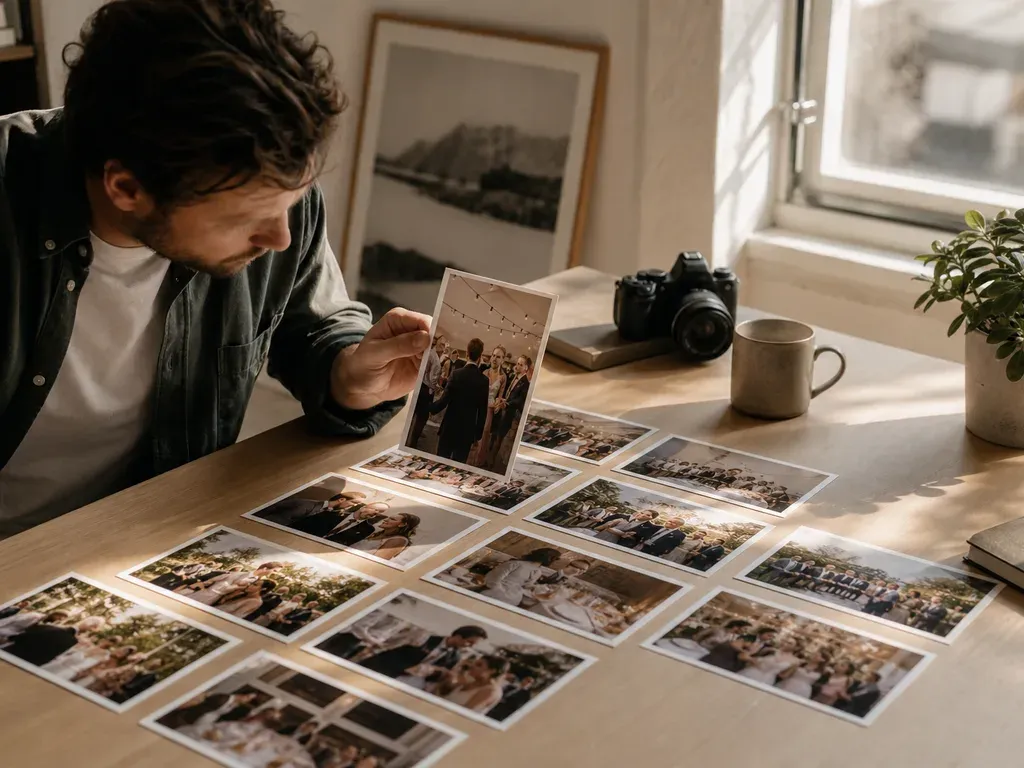
Batch editing saves time only after the set is coherent. Cull first, group images by the change they need, apply a restrained operation, then review outliers before exporting a collection.
Step-by-step process
- 1
Cull before batch editing
Remove duplicates and obvious failures first. A batch operation should not spend credits or review time on frames that will never be delivered.
- 2
Group by one shared problem
Separate images that need clarity, background cleanup, color consistency, or a creative treatment. Similar subject and lighting do not always mean the same edit is safe.
- 3
Run a small test set
Apply the intended operation to a few representative images. Check faces, edges, skin texture, text, and crop before expanding to the whole group.
- 4
Review outliers manually
Batch results are not equally reliable across backlit frames, unusual poses, reflections, or low-resolution files. Pull exceptions out instead of forcing them through.
- 5
Save edited copies separately
Keep originals and batch results separate, use a descriptive folder or suffix, and check the collection together before delivery or publishing.
Common mistakes to avoid
Batching before culling
You pay to process repetition and then still have to decide which image matters.
Assuming one prompt fits all
A shared instruction can fail on different subjects, light, or crop. Test representative cases first.
Skipping collection review
Each image may look acceptable alone while the final set has inconsistent color, scale, or treatment.
Before you finish
- Only confirmed keepers with the same AI editing intent enter this batch.
- Images share one clear editing need.
- A representative test set passed review.
- Outliers have a manual path.
- Originals and results are versioned separately.