Edit Photos Online with AI Before You Download
Before trying an online AI photo editor for free, check the credits and download limits in your account. Test one photo before paying or processing a larger set.
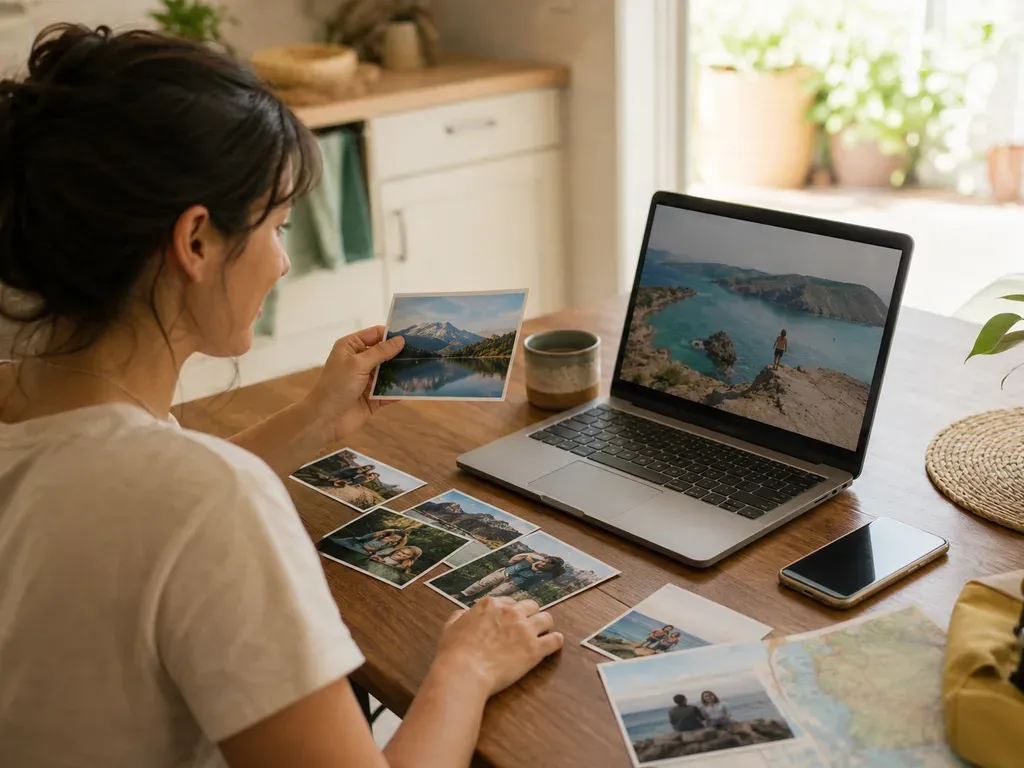
Try a free online AI photo editor with one non-sensitive image first. Check the plan limits, inspect the downloaded result, and decide whether to pay before editing a larger batch.
Step-by-step process
- 1
Choose a low-risk test image
Start with a copy, not a private original or a client-critical file. Pick one image that clearly shows the edit you want to evaluate.
- 2
Check what the free plan includes
Check the live pricing and account UI for available credits, output size, watermark, queue, and export limits. Do not assume “free” means unlimited or full-resolution.
- 3
Run one focused edit
Test enhancement, background cleanup, or another single task. A small test tells you more than spending the trial on a whole folder.
- 4
Review the actual output
Compare faces, edges, text, and color with the source. If the result is not useful at its intended size, stop before spending more credits.
- 5
Decide whether to continue
Only move to paid credits or a larger batch when the output, privacy boundary, and export path match the job. Keep the original and test result separate.
Common mistakes to avoid
Testing a free editor on the only source file
Work from a copy, because plans and limits change and a trial result should never replace the only original.
Testing with sensitive originals
Use a copy and understand where processing occurs before uploading private or client material.
Spending the trial on a folder
A single representative test exposes quality and workflow friction without consuming the whole allowance.
Before you finish
- A copy or low-risk image was selected.
- Current credits and export limits were checked.
- The test had one clear editing goal.
- Output quality and privacy were reviewed.
- A larger batch is justified by the test result.