Batch Photo Editor for Culling, Enhancing, and Creating Images
Use a batch photo editor when several selected photos need the same correction. Group them by lighting and output size, test a sample, and handle exceptions separately.
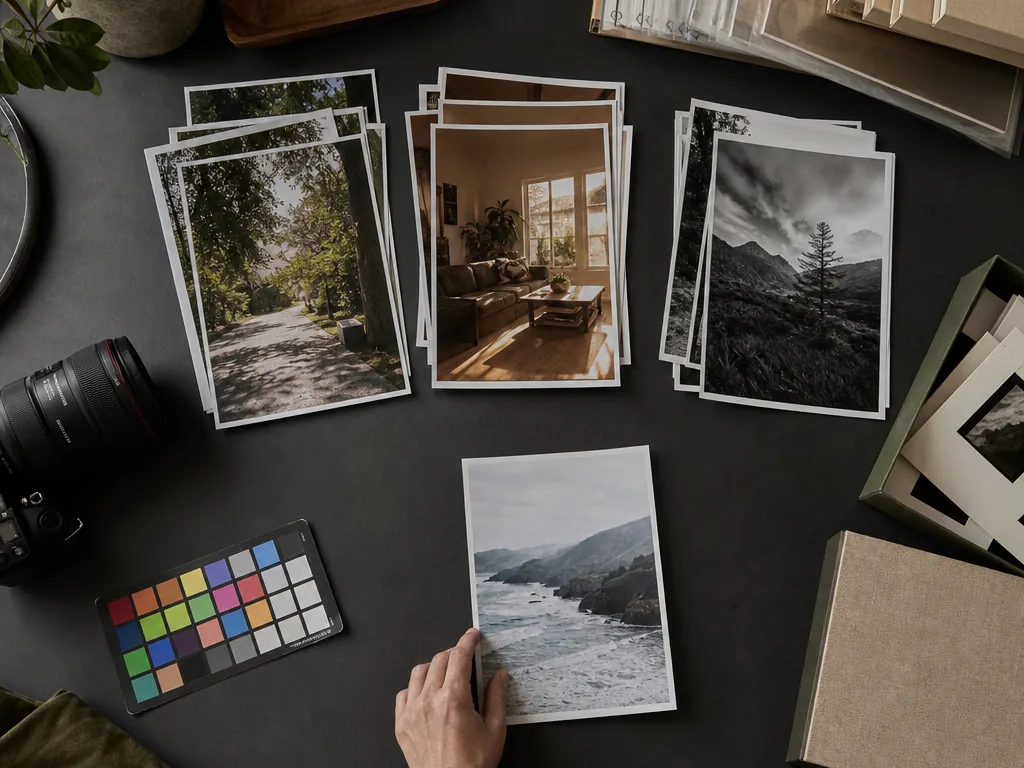
A batch photo editor saves time only when the selected images share the same correction. Cull first, group by lighting or output need, test a representative sample, and remove exceptions before applying the batch.
Step-by-step process
- 1
Cull before batching
Remove rejects and near-duplicates before processing. Editing files that will never be delivered wastes time, credits, and review attention.
- 2
Group by a shared correction
Separate indoor and outdoor light, different cameras, orientations, or delivery sizes. Similar subject matter does not guarantee the same edit is safe.
- 3
Test representative and difficult frames
Apply the setting to a normal image plus an edge case with skin, highlights, shadows, or mixed light. Review both before expanding.
- 4
Pull exceptions out of the batch
Move unusual exposure, white balance, crop, or retouching needs into a manual queue. One preset should not be forced onto every frame.
- 5
Review consistency after export
Inspect the set as a sequence, not only as individual images. Confirm color, crop, filenames, dimensions, and separation from the originals.
Common mistakes to avoid
Batching an unselected folder
The process spends resources on obvious rejects and creates more output to inspect.
Assuming one preset fits one event
A single event may contain daylight, flash, indoor, and mixed-light groups that need different treatment.
Checking only the first output
Later frames may contain the exact highlights, skin tones, or crops that break the batch setting.
Before you finish
- The batch contains confirmed keepers.
- Images share one correction and output need.
- A normal sample and edge case were tested.
- Exceptions have a separate path.
- The exported sequence and filenames were reviewed.