How to Cull Portrait Photos Without Losing the Best Expression
A portrait cull is more than a sharpness check. Compare small changes in expression, eye contact, pose, and intended use before you choose which frames to edit or show a client.
By MomentSift
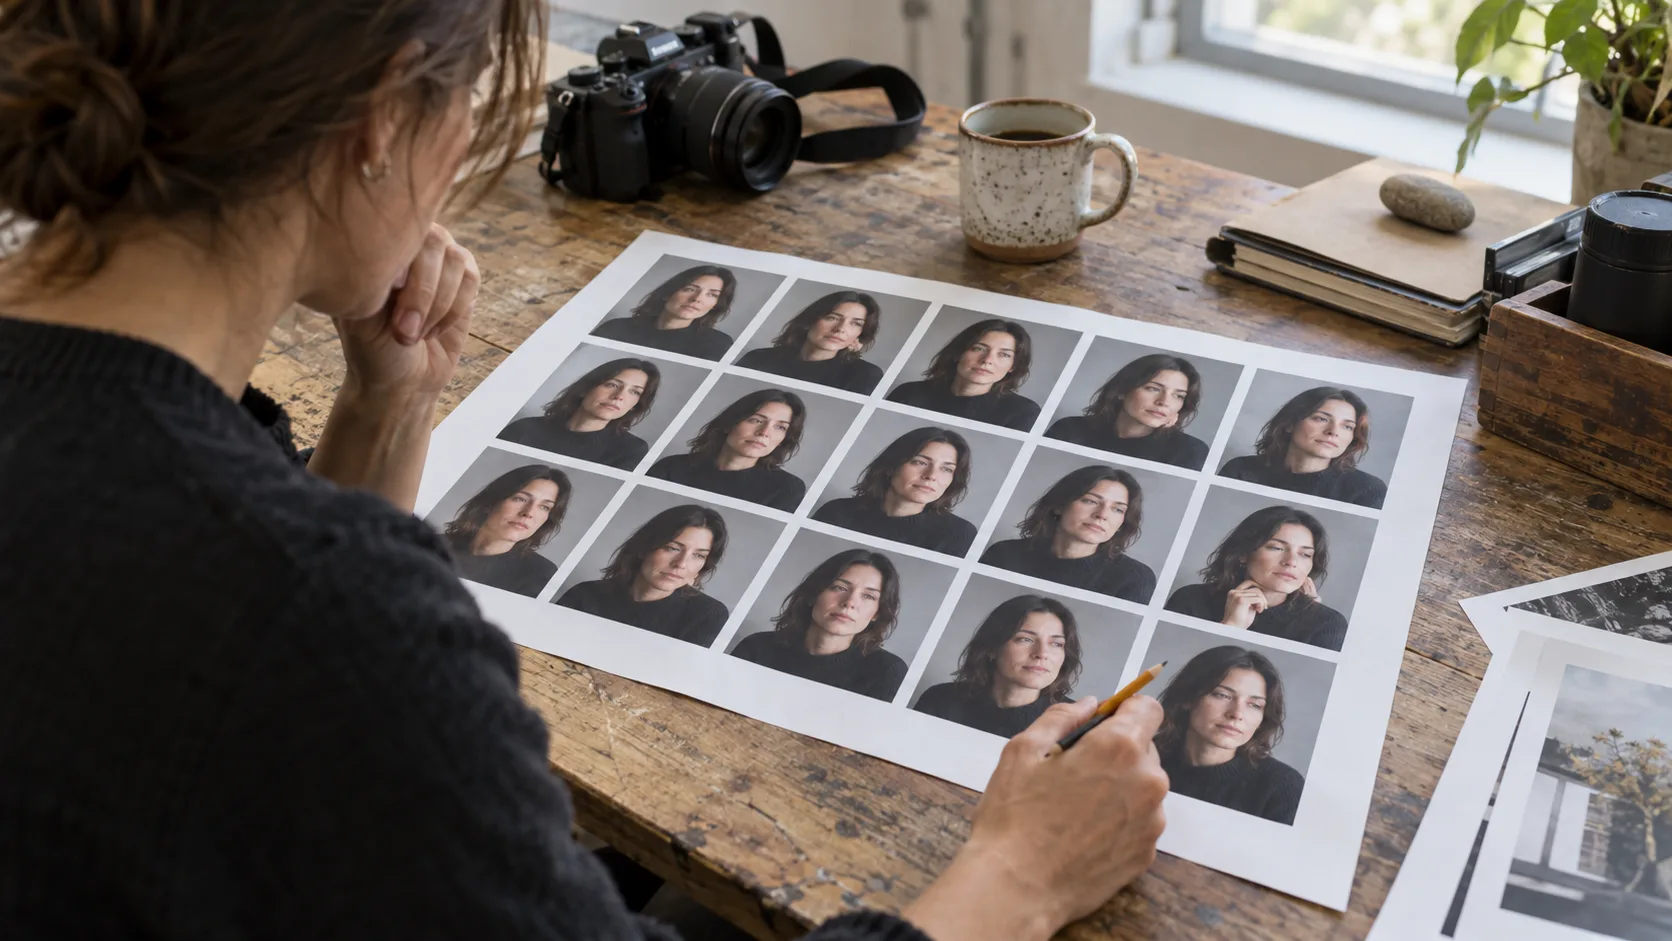
To cull portrait photos, first separate unusable frames from uncertain ones. Compare near-identical poses together, checking the eyes and focus at a useful viewing size. Then choose for expression and the portrait’s destination—a headshot, family print, or client proof set may need different frames. Review the shortlist as a set before editing, and keep deletion separate from selection.
Step-by-step process
- 1
Decide what the portrait set must do
Write down the intended use before looking for a single winner. A professional headshot may need a clean expression and room for a crop; a family portrait may benefit from an unguarded interaction. If a client will choose from proofs, agree on the range of looks and poses to show. This brief gives each selection a purpose rather than a score to chase.
- 2
Make one pass for obvious technical misses
Flag accidental frames, severe missed focus, and closed eyes where an open-eyed version exists. Leave borderline images for later. Do not discard an expressive photo just because a technical warning appears: inspect the face yourself, and remember that a warning cannot tell whether that moment matters to the sitter.
- 3
Compare one pose or lighting setup at a time
Put a short sequence side by side instead of jumping around the entire session. Check focus on the intended eye, hand placement, stray hair, posture, and whether the expression feels forced or relaxed. In a group portrait, inspect every face rather than only the central subject. Keep an alternate if it solves a real problem in the preferred frame.
- 4
Choose for variety, not a fixed percentage
After picking the strongest frame in each sequence, look across the shortlist. If every image is the same tight smile, add a wider composition or a quieter expression if the brief calls for it. Remove a near-duplicate only when it adds nothing useful. The number of keepers comes from the assignment and client agreement, not a universal culling ratio.
- 5
Check the proofs or final files before editing
Show only images you would be comfortable editing or delivering. Check that the sitter is represented fairly and that an important pose or wardrobe change has not disappeared. Keep the originals backed up; mark rejects reversibly until the proof set or final delivery is confirmed. Then spend editing time on the selected photographs.
Common mistakes to avoid
Picking the sharpest face automatically
Sharpness matters, but two equally usable portraits can differ greatly in expression. Compare the sequence at the same size, then let the intended use break a close tie.
Sending every slight variation as a proof
Too many almost-identical options move the culling work to the client. Give each proof a distinct expression, pose, crop, or purpose.
Deleting while the choice is still uncertain
A reject flag is easier to reverse than a deleted original. Confirm the shortlist and backup before making a separate file-deletion decision.
Before you finish
- The shortlist matches the headshot, family, or client brief.
- Eyes and focus were checked on the chosen frames.
- Similar expressions were compared within each sequence.
- The proof set has useful variety without repetitive frames.
- Originals remain available until delivery is confirmed.