Best AI for Photo Editing? Start With the Job, Not the Tool
A folder of near-duplicates, a scratched family scan, and a soft portrait do not need the same software. Choose by the result you need, then test it on a photo that can actually expose the weaknesses.
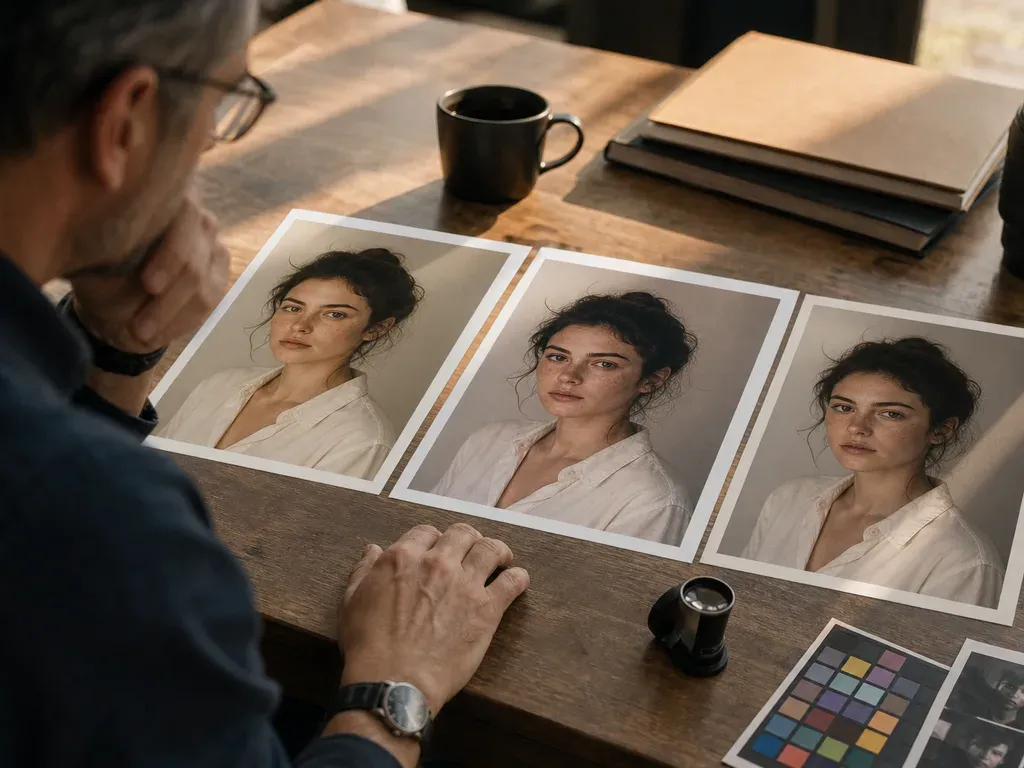
There is no single best AI photo editor. First name the job: choosing keepers, fixing a soft image, repairing a scan, changing a background, or making something new. Then test the tool on one normal photo and one difficult photo before trusting it with a batch.
Step-by-step process
- 1
Name the job before opening a tool
Write down the final result in plain language. “Choose 80 keepers from this event” is a different job from “repair this scratched scan” or “remove the background from this product photo.”
- 2
Cull before you polish
If the problem is too many photos, do not enhance the whole folder first. Compare similar frames, remove obvious misses, and decide what is worth editing before spending time or credits.
- 3
Test one normal and one difficult photo
Use a representative image plus an edge case with a face, fine text, hair, motion, or a busy background. Easy studio images hide the failures that matter later.
- 4
Check everything around the edit
Confirm file support, upload limits, privacy, version history, export size, and whether the result can return to your usual library or editor. A good preview is not enough if the handoff fails.
- 5
Judge the delivered file, not the demo
Open the export at its real destination size. Compare faces, edges, texture, and color with the source, then count the manual fixes and the actual cost per finished image.
Common mistakes to avoid
Starting with a generic top-ten list
A generator may be excellent at new visuals and useless for selecting a wedding gallery. A ranking without a stated job does not answer your question.
Editing before choosing keepers
Processing every frame creates more review work and spends money on files that will never be used.
Trusting the preview
A polished thumbnail can hide changed facial features, halos, broken text, or an export that is too small for the final use.
Before you finish
- The job and final destination are written down.
- The large batch is narrowed before any credit-heavy edit.
- A normal sample and a difficult edge case were tested.
- Privacy, cost, versions, and export were checked.
- The final file was compared with the source at use size.