AI Photo Enhancer for Sharper, Cleaner Keeper Photos
Improve clarity, lighting, faces, detail, and resolution after you have already chosen the photos worth keeping, sharing, printing, or restoring.
By MomentSift
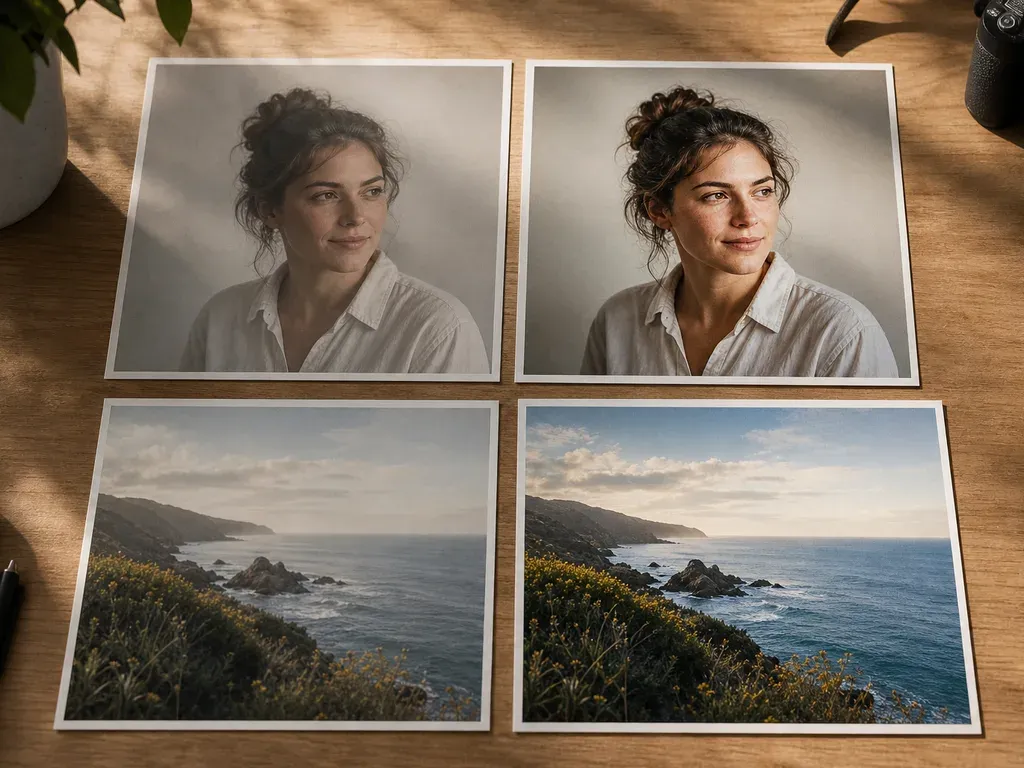
Use an AI photo enhancer when the photo is worth keeping but needs clearer detail, balanced tone, or a careful resolution increase. Test the defect first and compare the result at the intended output size.
Step-by-step process
- 1
Identify the actual quality problem
Separate softness, noise, exposure, compression, and low resolution. Enhancement cannot recover every missing detail, and the right setting depends on the defect.
- 2
Start with a duplicate and a small test
Keep the original untouched and test one representative face, texture, or difficult edge before processing a full batch.
- 3
Choose output size for the destination
A social post, web thumbnail, client gallery, and print need different dimensions. Avoid enlarging far beyond what the final use needs.
- 4
Review real detail, not invented texture
Compare eyes, hair, skin, fabric, edges, and fine text with the source. A sharper appearance is not an improvement if texture becomes artificial.
- 5
Export with a clear version name
Keep source, enhanced, and final-cropped files separate. Record the size and setting used so you can reproduce or undo the result.
Common mistakes to avoid
Expecting enhancement to fix an unusable capture
Severe motion blur, missing focus, clipped highlights, and blocked shadows may not contain enough information to recover.
Upscaling every image automatically
Large output costs more storage and processing. Enhance only images that have a real delivery or creative purpose.
Judging only by sharpness
Natural skin, edges, color, and story matter more than a high-contrast thumbnail.
Before you finish
- You know what needs fixing in the original.
- A duplicate and representative test were used.
- Output size matches the destination.
- Natural detail was compared with the source.
- You saved the original, edited copy, and settings.